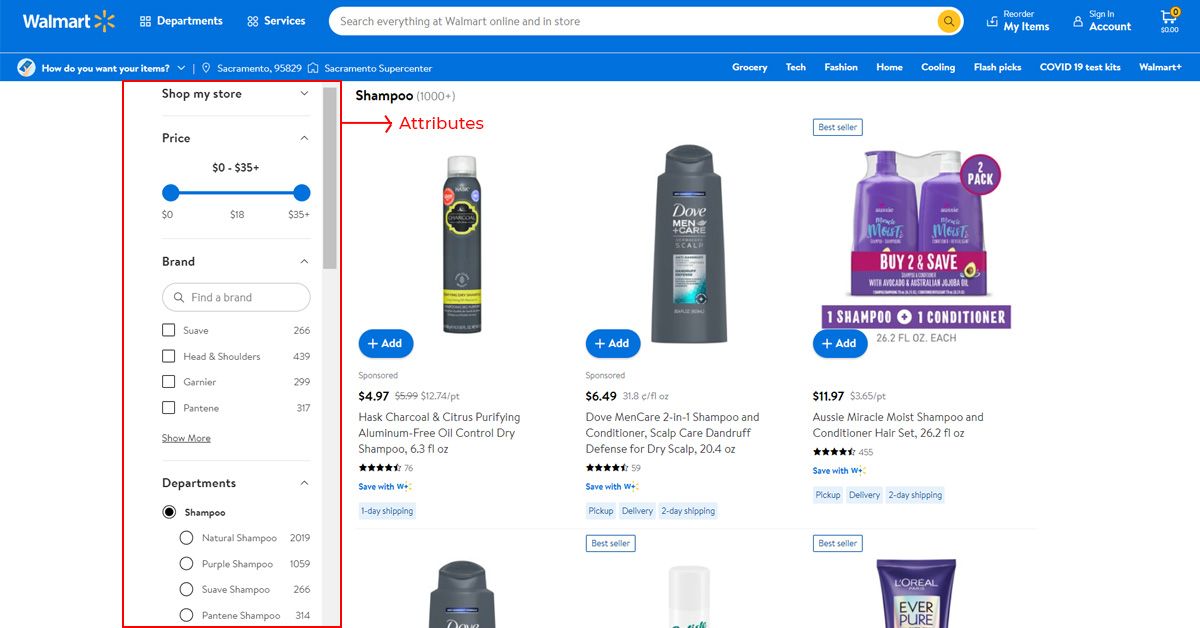
Post-processing is a crucial part of selling at Walmart. You need to make sure that your images are perfect, from color correction to background removal and everything in between.
But how do you go about doing this? Well, in this article, we’ll be giving you some tips for post-processing your Walmart product images.
Once you have your photos ready, the next step is to start editing them.
Here are some tips that you should follow while doing this process -
1. Remove all the clutter from your photo
If you can remove clutter from your photo without sacrificing too much detail then do so. If not, then try to find another angle or perspective that does not have any clutter in it.
2. Adjust the background and foreground so that they are white
The idea here is to create a uniform look across all of your images by matching their backgrounds and foregrounds to be pure white.
3. Adjust the lighting to make it look as natural as possible
This way, customers won’t notice any changes in brightness or contrast in their photos compared to what they see in real life.
4. Get rid of hard shadows
Use a softbox or umbrella to get rid of hard shadows caused by sunlight or artificial light sources.
5. Clean the pictures
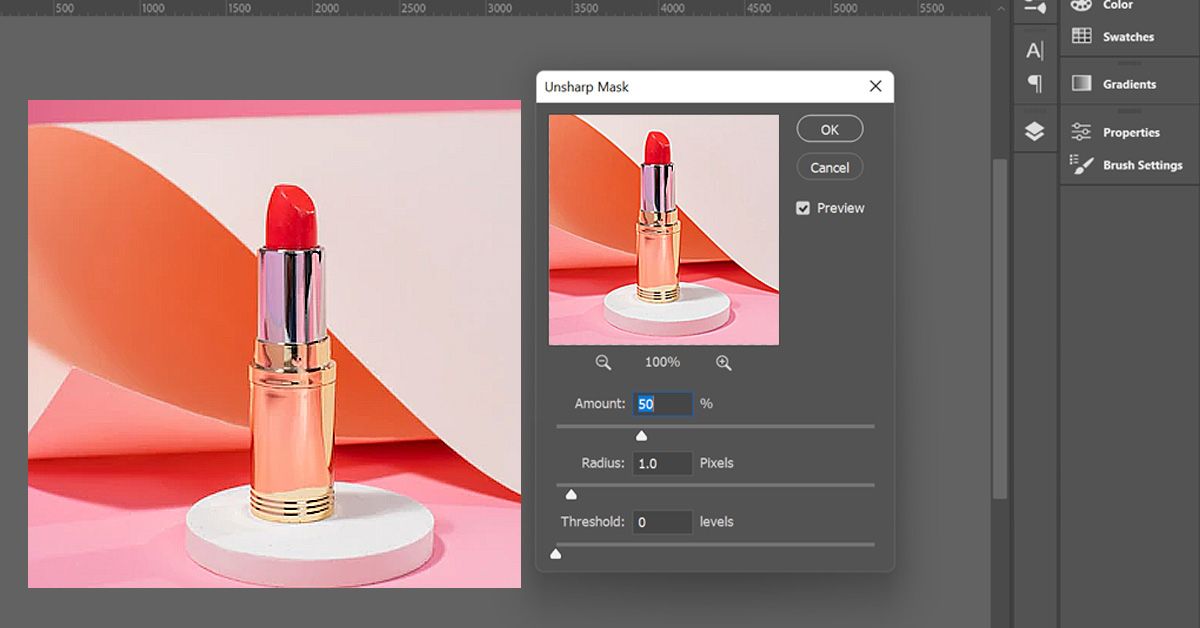
Get rid of any dust particles and scratches using a clone brush tool in Photoshop (or any other software).
6. Add a watermark
7. Adjust the exposure and color temperature
Your images need to be bright and evenly lit. If you have too much shadow or uneven lighting, it could because of getting rejected.