Blurry product photos don’t just look bad — they cost you money. In 2025, with Amazon and other marketplaces more competitive than ever, even slightly soft images can hurt click-through rates, reduce trust, and lead to listing suppression.
This guide shows you exactly how to unblur images for ecommerce, using everything from professional Photoshop workflows to fast AI tools and mobile apps. Whether you’re fixing a single hero image or cleaning up hundreds of SKUs, you’ll learn practical, proven methods that sellers actually use — plus how to pair sharpened images with Dresma’s AI Mood Board Generator to create conversion-focused visuals backed by real market data.
What you’ll learn:
- Why image sharpness directly impacts conversions and compliance
- Step-by-step ways to remove blur using desktop, mobile, and AI tools
- A side-by-side tools comparison for ecommerce sellers
- Common mistakes that ruin product images (and how to avoid them)
- How AI mood boards help you match top-performing visuals instantly
Why Unblurring Images Is Non-Negotiable for Ecommerce?
In ecommerce, sharp images aren’t a “nice to have” — they’re mandatory.
Marketplaces like Amazon require high-resolution images (often 1600px or more) to enable zoom. Blurry main images can get listings suppressed instantly, no warning. Even when listings stay live, unclear photos reduce buyer confidence, leading to fewer clicks, lower conversions, and more returns.
When you unblur an image correctly, you:
- Reveal texture, color, and material details buyers expect
- Increase click-through rates (often by 20% or more)
- Improve trust and reduce “item not as described” complaints
- Stay compliant with platform image guidelines
For sellers managing large catalogs, image clarity also prevents misrepresentation — no distorted sizing, no hidden features, no unhappy customers. One strong image set can improve rankings because platforms reward listings that keep shoppers engaged.
How to Unblur an Image: Step-by-Step Methods That Actually Work?
Below are the most reliable ways to remove blur from product photos in 2025 — starting with professional tools and ending with free, AI-powered options.
Method 1: Photoshop + Boris FX Optics Magic Sharp
Best for: Professional sellers, batch editing, high-value products
This plugin delivers clean, natural sharpening without the crunchy artifacts basic tools create.
How to do it:
- Open your image in Photoshop
- Duplicate the layer (CTRL + J) to protect the original
- Go to Filter → Boris FX → Optics
- Search for Magic Sharp and apply a preset
- Adjust sharpening amount (50–80%) and radius until details look crisp
- Export at 1600px+ for marketplace compliance
Why it works:
Magic Sharp is designed to fix focus and motion blur while keeping textures realistic — ideal for premium product images.
Method 2: Photoshop High Pass Filter (No Plugins Needed)
Best for: Sellers on a budget who want full control
This classic technique is still one of the most effective ways to unblur images manually.
Steps:
- Duplicate your image layer
- Desaturate the duplicate (grayscale)
- Apply High Pass filter (start at 3px radius)
- Change blend mode to Linear Light
- Mask and paint only the areas that need sharpening
Why it works:
You control exactly where sharpening happens — perfect for text, edges, and logos.
Method 3: Lightroom Detail Panel
Best for: Large catalogs and batch processing
Lightroom is ideal if you’re editing dozens or hundreds of product photos.
Quick settings to start:
- Sharpening: 40–70
- Radius: 1.0–1.5
- Detail: 50–75
- Masking: 0–30
Apply the settings to one image, then sync them across similar shots.
Why it works:
It’s fast, non-destructive, and consistent — perfect for scaling ecommerce workflows.
Method 4: Premiere Pro (For Video-First Sellers)
If you already work in video, you can sharpen still frames using Magic Sharp inside Premiere and export them as images.
Best for: Hybrid video + product image workflows.
Method 5: Mobile Apps (iPhone & Android)
Best for: Quick fixes on the go
- Lightroom Mobile (iOS & Android): Same Detail panel as desktop
- Snapseed (Android): Use Structure and Sharpening tools selectively
Great for emergency fixes, but not a replacement for desktop tools.
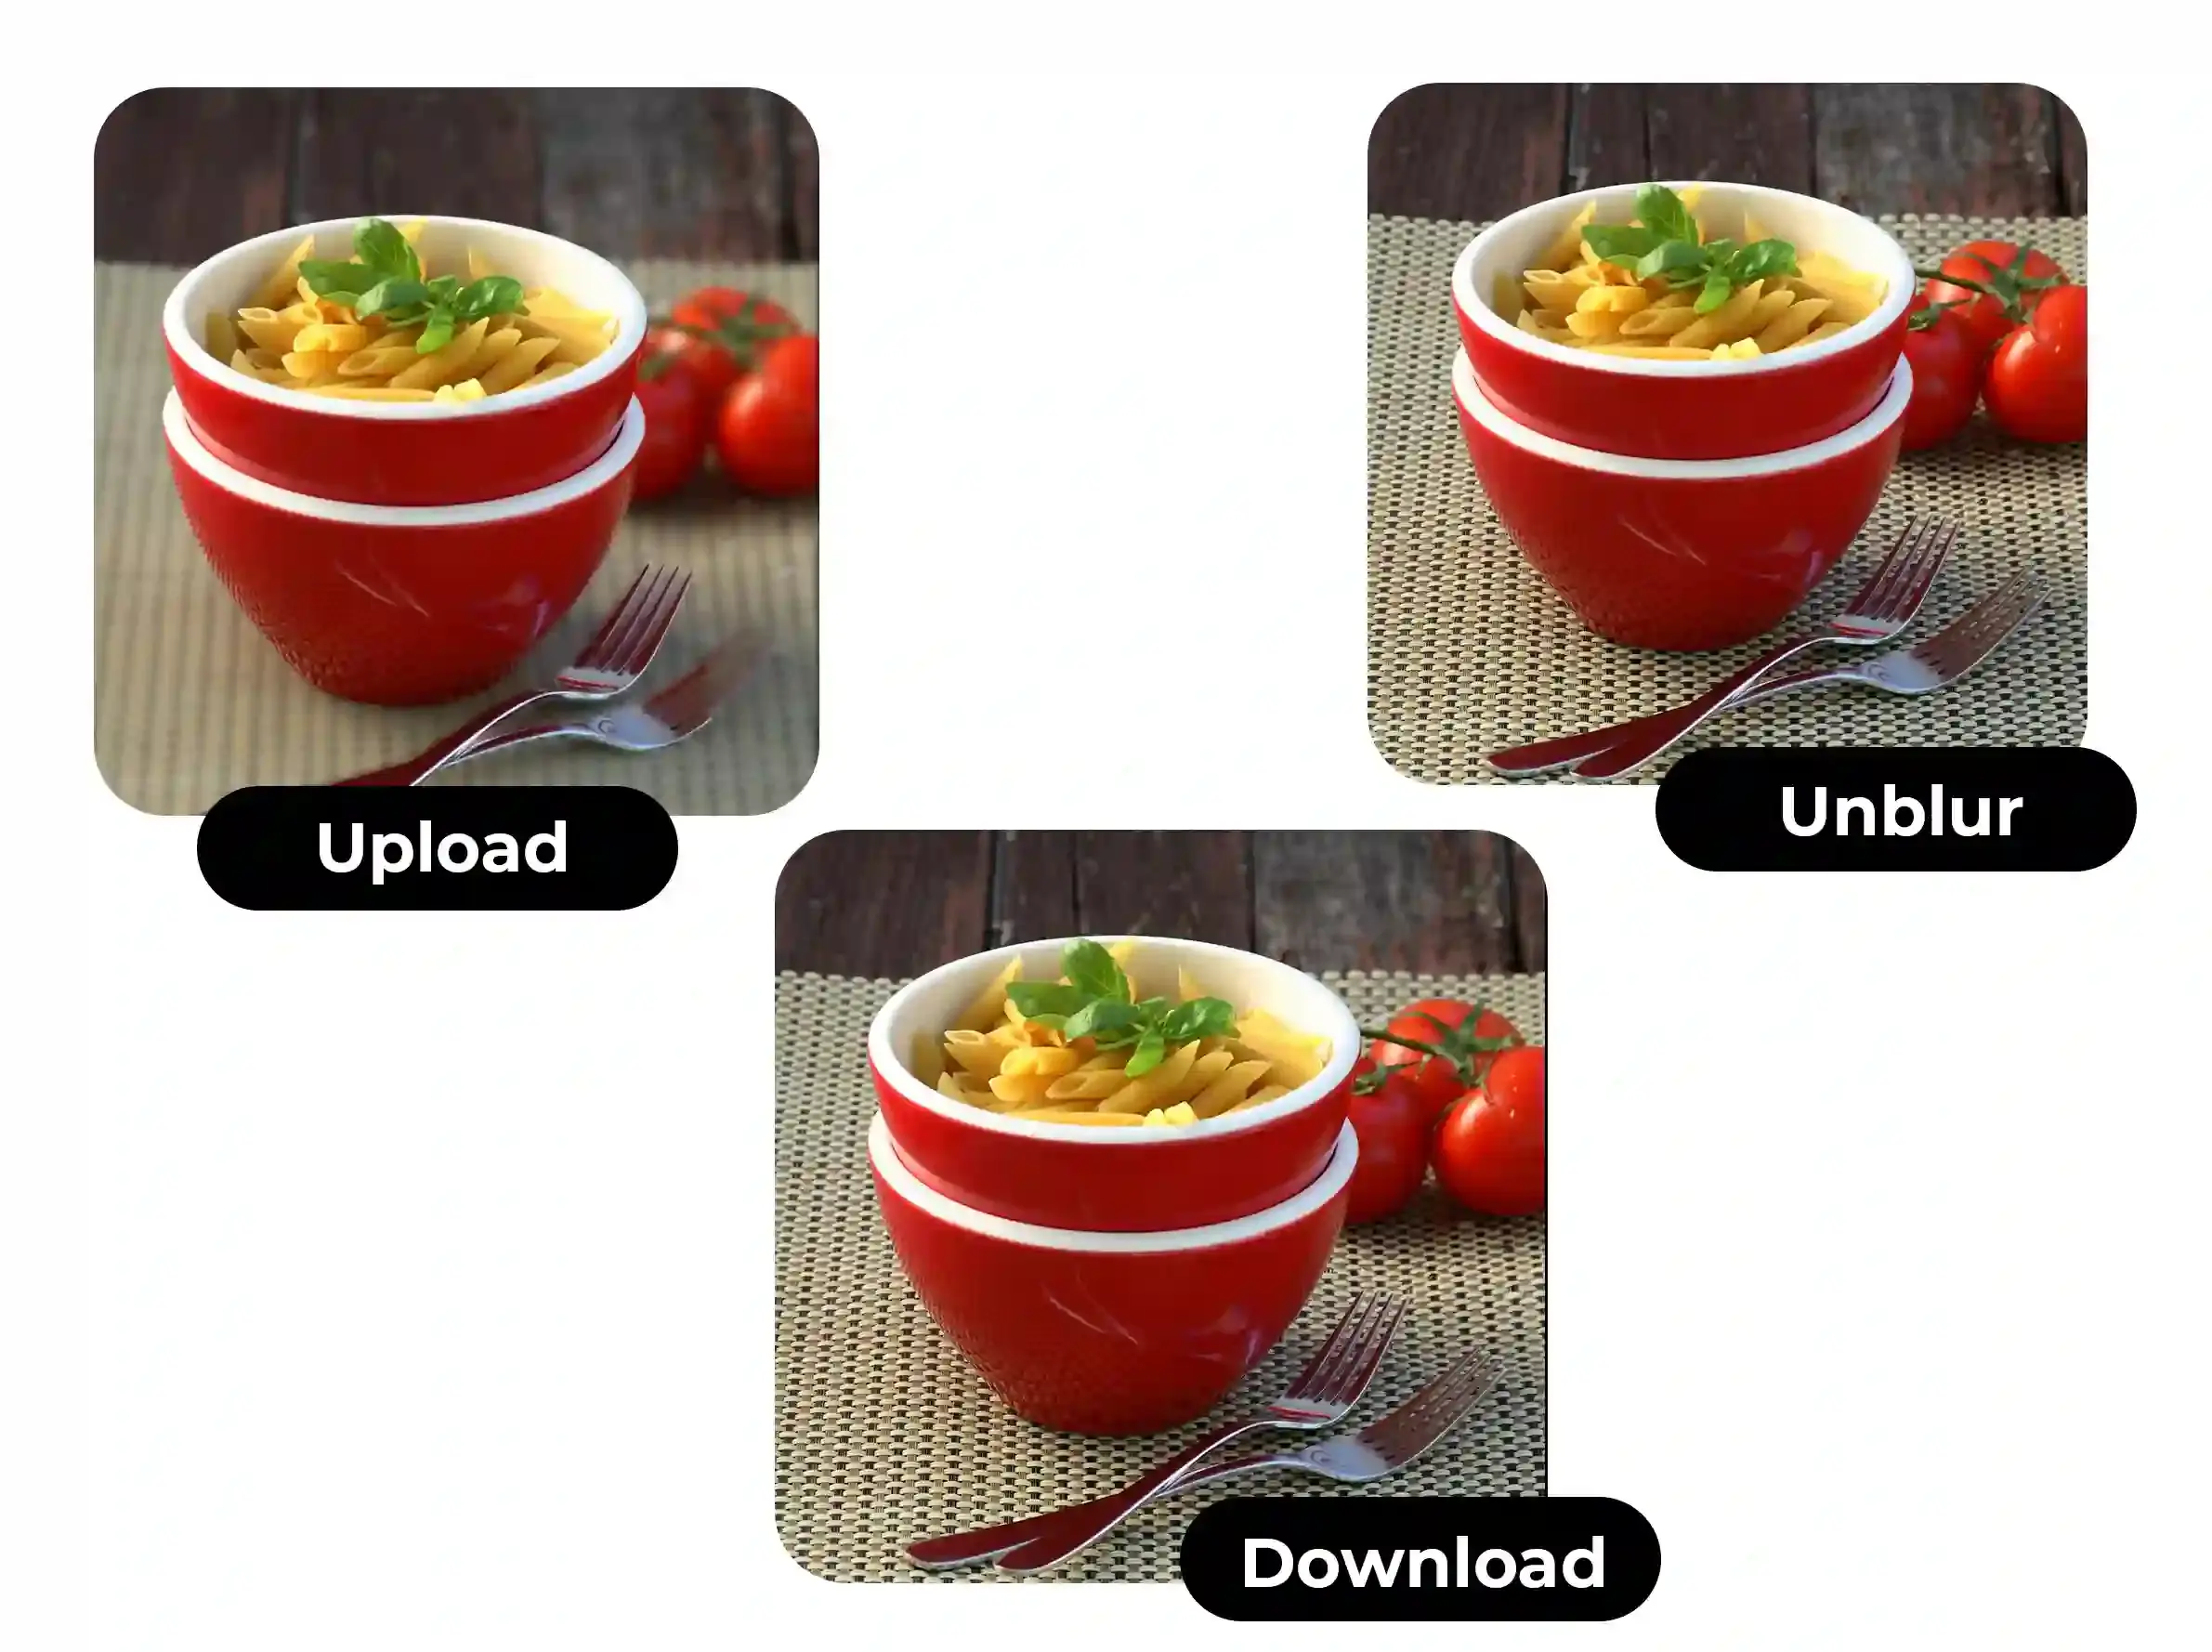
Method 6: Free AI Tools (Fastest Option in 2025)
If you want instant results without learning curves:
- PicsArt AI: One-click sharpening
- Fotor: AI Deblur + Sharpen sliders
- UnblurImage.ai: Batch processing for large sets
Best for: Speed, volume, and beginners.
Tools Comparison: Which One Fits Your Workflow?
Optics Magic Sharp delivers professional-quality sharpening with partial AI support and batch processing capabilities, featuring a medium learning curve.
Photoshop High Pass offers manual precision without AI, requiring manual batch handling and presenting a high learning curve.
Lightroom Detail excels with large catalogs, lacking AI but supporting batch processing, with a medium learning curve.
AI Tools like those in PicsArt or Fotor prioritize speed and simplicity, fully leveraging AI with limited batch options and a low learning curve.
Dresma AI Mood Boards supports a full eCommerce workflow, incorporating AI and full batch processing with a low learning curve.

Go Beyond Sharpening: Use Dresma AI Mood Boards
Fixing blur is only half the job. What really moves conversions is using the right visual style.
Dresma’s AI Mood Board Generator analyzes top-performing images from Amazon, Instagram, and competitors — then creates data-backed mood boards with winning angles, lighting, and composition.
Once your images are sharp:
- Upload them to Dresma
- Generate compliant, trend-aligned mood boards in seconds
- Create visuals proven to convert
No guessing. No copying competitors blindly. Just smarter visuals, faster.
Common Unblurring Mistakes (and How to Avoid Them)
- Over-sharpening: Always preview at 100%
- Ignoring zoom views: Blur often shows only at full resolution
- Exporting too small: Stay above 1000–1600px
- Mobile-only editing: Fine for quick fixes, risky for hero images

Final Takeaway
In 2025, sharp images aren’t optional — they’re a competitive advantage. Mastering how to unblur images helps you stay compliant, build trust, and convert more buyers.
Pair smart sharpening techniques with Dresma’s AI Mood Board Generator, and you’re not just fixing images — you’re creating visuals designed to win.